
Setting Up a gonic Server
- blog
- February 4, 2026
Hey guys!
It’s Juke here.
This time, I tried setting up a gonic server.
I used Ubuntu Server version 22.04.3 on a Raspberry Pi.
Check out my video for an overview of the setup.
Alright, let’s get started.
Video

【Build】 Let’s build a music streaming server with gonic! 【JUKE UNOTSUKI】
Before You Begin
Everything written here is also in the official installation manual.
If you run into any issues, refer to that instead.
- Official Installation Manual
https://github.com/sentriz/gonic/wiki/installation#with-systemd
Installing Go
First things first: apt update.
sudo apt updategonic requires Go version 1.25 or higher.
For the Latest OS
If you’re running the latest OS, just run apt install golang.
sudo apt install golang
go version
If apt install golang fails to install Go 1.25
If your OS is outdated and apt install golang fails to install Go 1.25 or higher, download the binary and install it manually.
If an existing Go installation (via apt) exists, remove it first.
sudo apt remove -y golang-go golangDouble-check for any leftover files.
which go || trueNavigate to /tmp.
cd /tmpDownload Go 1.25.x.
The version downloaded here is the 64-bit edition for Raspberry Pi. For example, in an x64 environment, specify go1.25.5.linux-amd64.tar.gz.
wget https://go.dev/dl/go1.25.5.linux-arm64.tar.gzIf there is a go directory in /usr/local/, delete it.
sudo rm -rf /usr/local/goExtract the downloaded go…
sudo tar -C /usr/local -xzf go1.25.5.linux-arm64.tar.gzSet the PATH.
echo ‘export PATH=$PATH:/usr/local/go/bin’ >> ~/.profile
source ~/.profile
Verify the installation succeeded.
go versionInstalling Additional Dependencies
Install git / ffmpeg / mpv.
sudo apt install git ffmpeg mpvInstalling gonic
If you installed Go with apt install
sudo GOBIN=/usr/local/bin go install go.senan.xyz/gonic/cmd/gonic@latestIf you installed Go manually
Specify Go using its full path.
sudo GOBIN=/usr/local/bin /usr/local/go/bin/go install go.senan.xyz/gonic/cmd/gonic@latestVerify gonic installed correctly.
gonic -versionCreating the Execution User, Directories, and Placing Configuration Files
Creating the gonic User
Create the user gonic for systemd daemonization.
sudo adduser --system --no-create-home --group gonicCreate Data and Configuration Directories
Create directories for data and configuration, then grant permissions to the gonic user.
sudo mkdir -p /var/lib/gonic/ /etc/gonic/
sudo chown -R gonic:gonic /var/lib/gonic/
Obtaining the Configuration File
Download the gonic configuration file.
sudo wget https://raw.githubusercontent.com/sentriz/gonic/master/contrib/config -O /etc/gonic/configEditing the Configuration File (Specifying Paths for Music Folders, etc.)
Edit the configuration file /etc/gonic/config.
sudo vi /etc/gonic/configThe configuration file requires specifying at least the following four settings:
listen-addr: IP address and port numbermusic-path: Path to the music folderpodcast-path: Path to the podcast folderplaylist-path: Path to the playlist folder
Registering, Starting, and Checking the systemd Service
Download and Apply the Service File
sudo wget https://raw.githubusercontent.com/sentriz/gonic/master/contrib/gonic.service -O /etc/systemd/system/gonic.service
sudo systemctl daemon-reload
sudo systemctl enable --now gonic
Checking Service Status and Logs
systemctl status gonic
journalctl --follow --unit gonic
Accessing the Admin Interface
Once it’s running, try accessing the admin interface in your browser.
-
http://IP address of gonic:4747
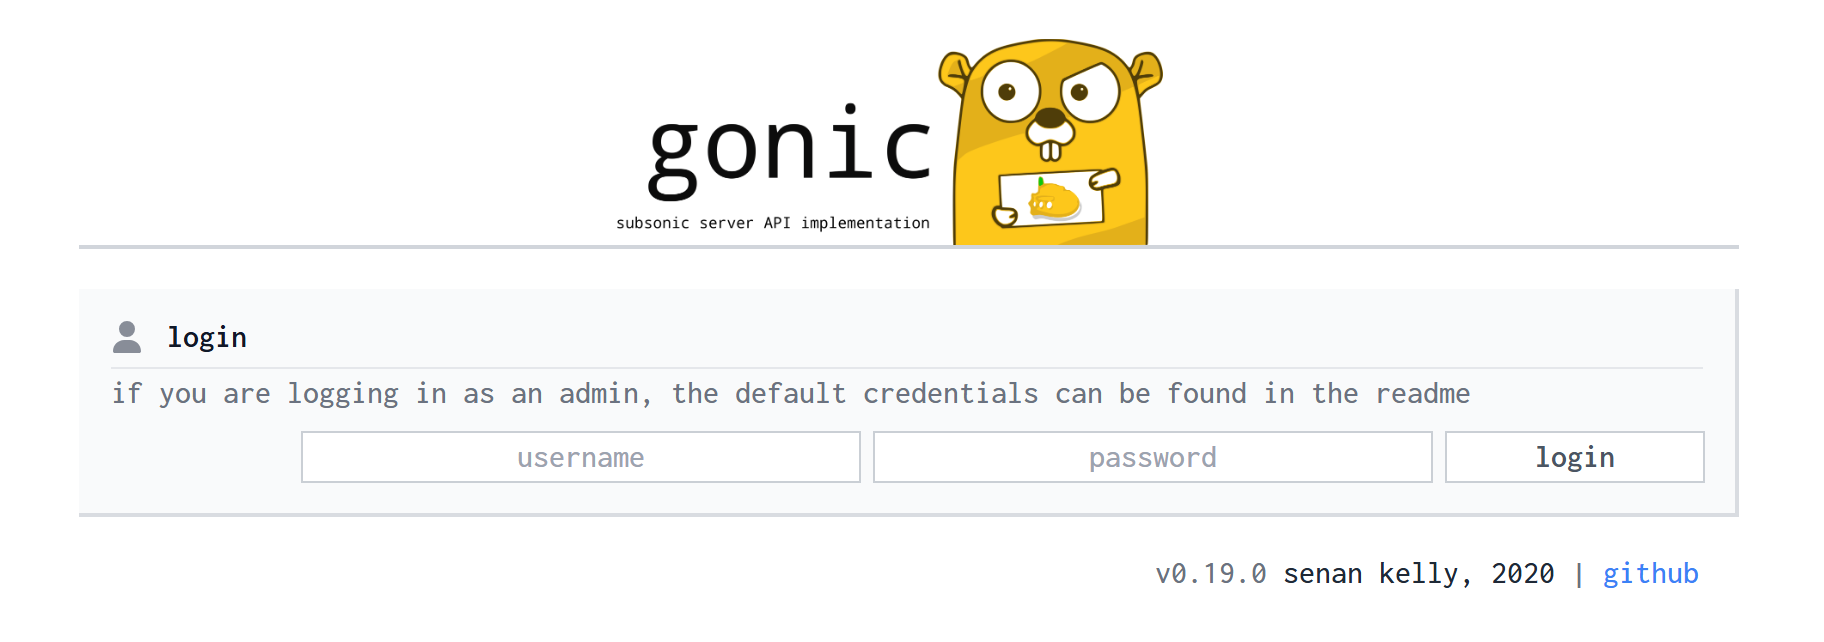
If you see the screen above, setup was successful!
gonic’s default login is username admin and password admin.
After installation, change the password as soon as possible.
Note
Machine translation is used for the sentence in this site.
Therefore, the sentence may contain mistranslations.
This site is not intended to cause you any discomfort.
Should any mistranslations appear in the site, I kindly ask for your understanding.